As seen at Vesta Documentation
Download installation script as root and run it.
sudo su
curl -O http://vestacp.com/pub/vst-install.sh
bash vst-install.sh
It should pop up and show:
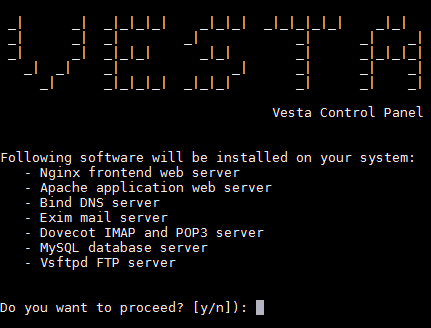
Pretty easy, huh.
My VPS already had apache2 installed, so instead I got the message:
Following packages are already installed: apache2
It is highly recommended to remove them before proceeding. If you want to force installation run this script with -f option: Example: bash vst-install-ubuntu.sh --force
The first time I got this message, I tried removing apache2. After removing, I kept receiving the same error message about it already being installed. I then manually deleted many remaining apache2 files hoping that would help, but it did not. Since this was a fresh VPS, I reinstalled Ubuntu 14.04 and then ran the vesta installer right away. I got the same message, but chose to force the install (running as root):
bash vst-install.sh -f
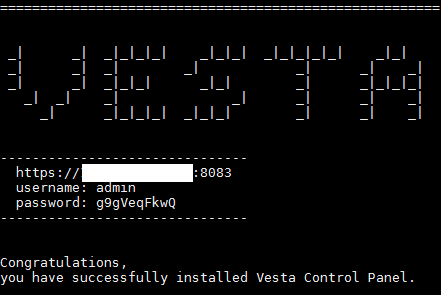
It is very important that you somehow record the password given at the end of the install:
The install worked this time, however it did add firewall rules that broke my SSH access. It assumed SSH was on the standard port, and closed down all unneeded ports.
Logging into the Vesta Control panel, I was able to adjust the firewall settings, changing the allowed SSH port back to my custom number.
Leave a Reply